Wanted to make bread last night, but slept with Jo and did not wake up till early this morning. Then discovered that we did not have bread at home. I made the easiest thing I could think of. Raisin muffins. This time I used 60g unsalted butter, melted, instead of olive oil. The taste is better and more moist. hmmm... :) I used mini cupcake cases. Smaller muffins need less baking time. I did mine at 160oC in 12min. Also added some chocolate chips in the last 7 minis for hubby, he loves chocolate.
28 March 2008
Milk Loaf with Fillings
Twice, the Happy Home Baker left comments on my blog, urging me to try the milk loaf recipe. I finally did. 2 nights ago. I took note of HHB's comments that her dough took 2 hours to rise during the 2nd proofing. As I usually make bread at night, I found a good way to proof my dough. I placed the dough into a stainless steel mixing bowl, greased and covered with cling wrap. I would then place a cup of boiling water into the microwave oven, together with the dough in the bowl. It cut the proofing time. For the 2nd proofing, I did the same and the dough almost touched the cover of the pullman tin after 40min.
For milk, I hardly have fresh milk at home these days. For my breads so far, I've used a mixture of UHT milk and whipping cream. The whipping cream was balance from decorating Jo's birthday cake. I finally finished using the whipping cream in this bread.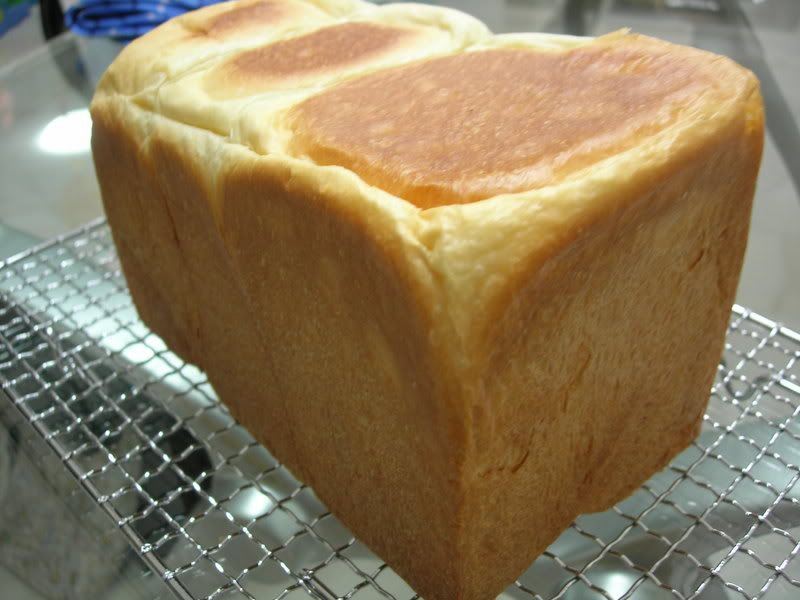
> The best looking corner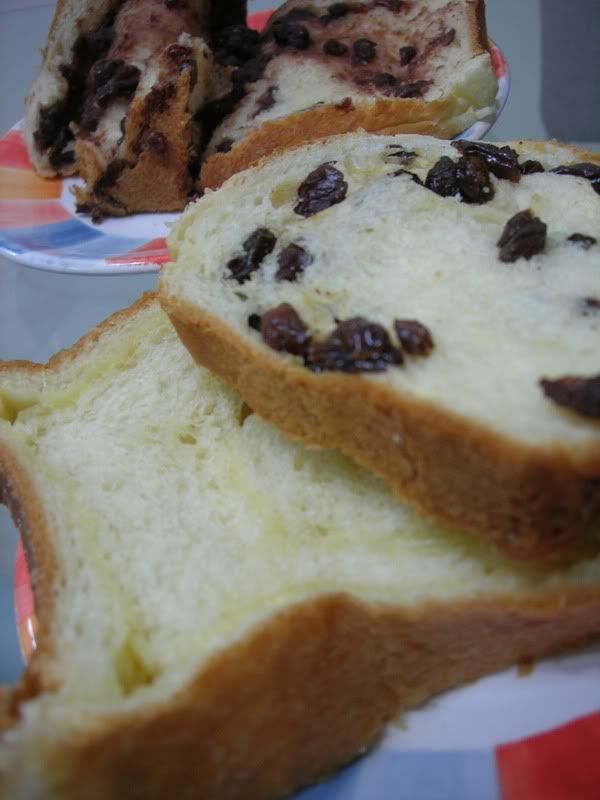
> L- Cheese slice, R- Raisin slice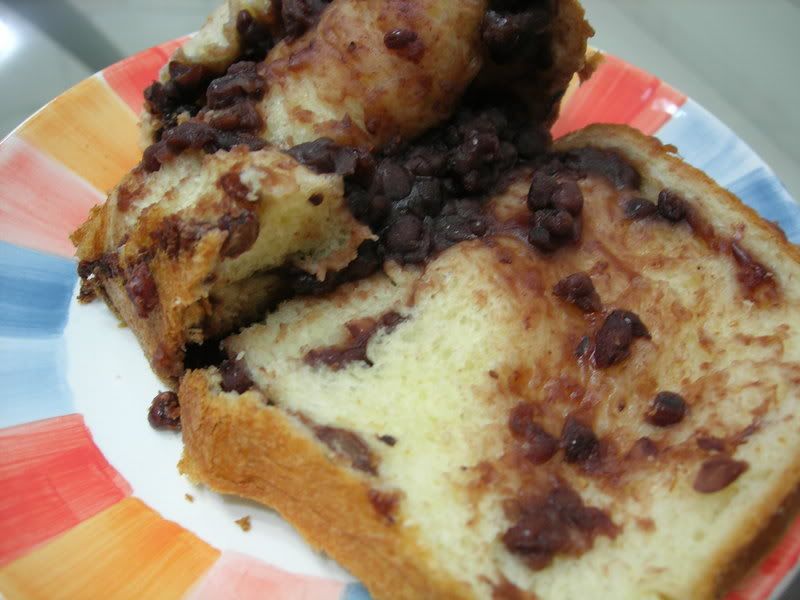
> Tau sar slice
Milk Loaf
130g milk (I used a mixture of whipping cream and UHT)
50g egg
25g caster sugar
5g salt
250g bread flour
4g instant yeast
38g butter (unsalted, cubed)
Assorted fillings - red bean paste, grated cheddar cheese, raisins (soaked in hot water and drained)
1. Place all the dry ingredients in a bowl (be careful not to put yeast with salt). Mix well. Add all the wet ingredients and make a dough.
2. Turn the dough out on a clean smooth work-table. Add the butter and knead the butter into the dough. The dough would be sticky at first, but don't worry, continue kneading till you get a smooth elastic dough.
3. Place the dough in a greased mixing bowl. Cover the dough with cling wrap and allow the dough to rise (approximately 1 hour).
4. The dough should rise 2x the original size. Give the dough a light punch to deflate. Turn the dough out onto the table and lightly knead the dough. Divide the dough into 3 portions and allow the dough to rest 10minutes.
5. Flatten 1 potion and spread filling on the flattened dough. Roll up the dough with the filling like a swiss roll, making as many rounds as possible. Tuck the ends under and place in the pullman tin. Do the same for the other 2 portions.
6. Allow the dough in the pullman tin to rise till almost 2x its original size.
7. Bake in a preheated 160oC oven for 30min. De-mould immediately and allow to cool before slicing.
YUMMY! The bread was so soft that I had problems slicing. We loved the texture. The kids simply loved the cheese slices.
Original recipe - Happy Home Baker > Almost a Square
18 March 2008
Sweet sweet buns
I'm getting good at making bread. Since I got the hang of kneading dough, feeling it and knowing when it is kneaded just right, elastic and smooth, I have fallen in love with making bread! Happy Homebaker mentioned somewhere in her blog that she got a can of red bean paste from Daiso, so I kept a lookout for it when we were there last Saturday. I bought a can and couldn't wait to try it. Tonight I made some sweet buns.
Using the same sweet bun recipe, after the 1st proofing, I divided the dough into 16 equal portions by weight. The crucial part to shaping the dough is to rest the divided portions for 10min. This is something I learned from Alex Goh's book on bread making. True enough, I was able to shape the dough more properly and not worry abt the 1st few doughs which I shaped would rise faster than the later batch, if you get what I mean.
To wrap the red-bean paste, flatten the dough using a lightly-floured rolling pin (I skipped this and used my palm, resulting in the fillings not in the centre), put the filling, gather the sides and pinching to seal. Round the dough.
For the cheese fillings, similarly, flatten the dough and spread grated cheddar cheese and roll up like a swiss roll and tugging the ends under, pinching the opened sides and round the dough.
Here's the final product!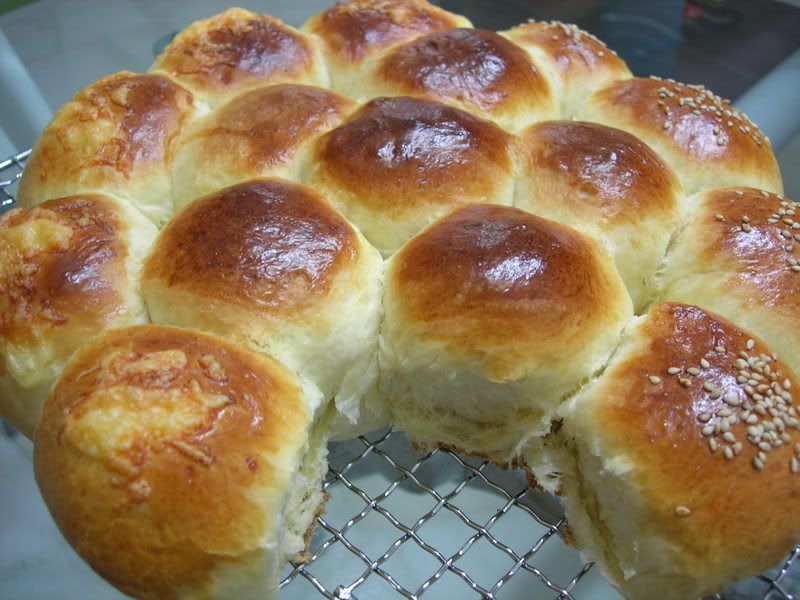
> Fresh and hot from the oven, hubby couldn't wait and took one even before I could take a photo!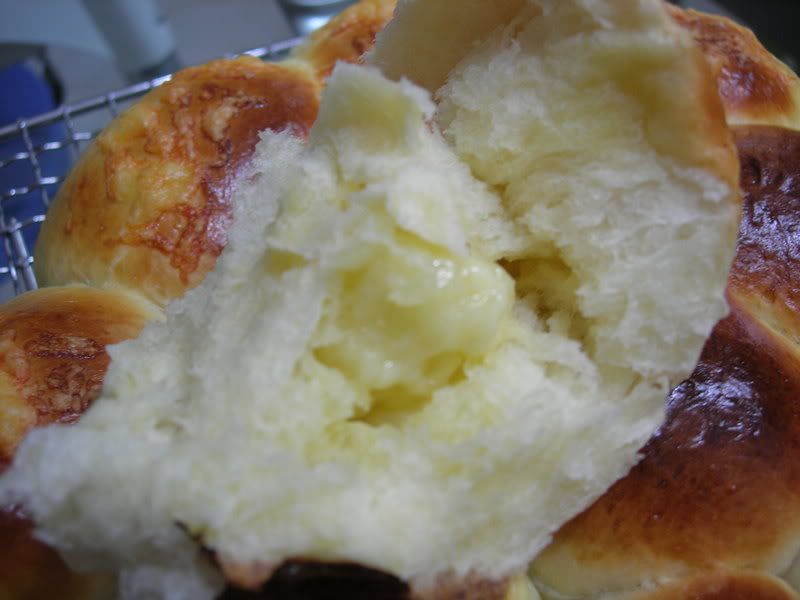
> Cheese bun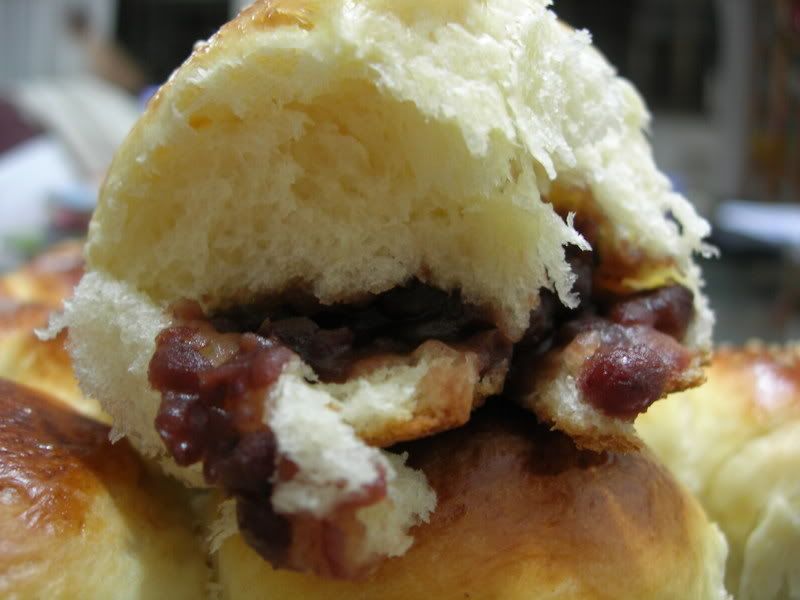
>> Tau Sar bun, see what I mean when I used my palms to flatten the dough. The tau sar is not in the centre... the bread was soft and fluffy.. yummmm....
16 March 2008
Cheese Buns
Friday night, I decided to make sweet buns, using the recipe from Happy Home Baker. Since my kids love cheese, I decided to add cheddar cheese to the dough to make cheese buns. It was yummy, fluffy and the kids loved it. We finished it on Saturday!
Today, we had a farm tour with the SMH Feb/Mar05 gang. I made sponge cups and cheese buns! Everybody loved the cheese buns, even the picky YiXuan.
I need to work on the shaping of the dough, all different shapes and sizes. If I'm baking buns, I have to put the tray in the lower top rack level.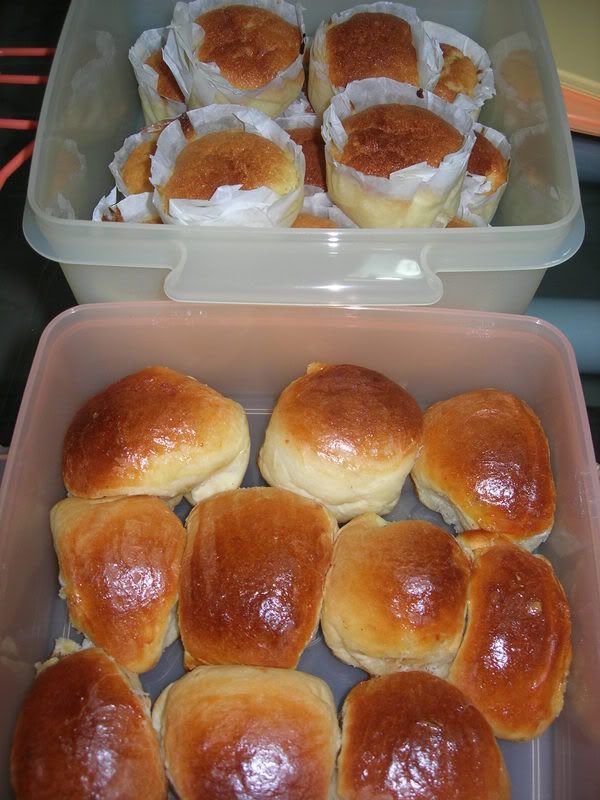
Cheese Buns
150g bread flour
150g cake flour
60g caster sugar
5g instant yeast
3g salt
50g butter, cut into small cubes
125g milk
1 egg, lightly beaten
100g cheddar cheese, grated.
1. Mix all the dry ingredients in a bowl. Add milk, butter and egg. Using a fork, mix the ingredients together (mashing the butter) to make a dough.
2. Place dough on a lightly-floured smooth work table. Using a plastic scrapper, scrap the sticky dough together. Knead the dough - fold, press heals of palms into the dough, then give the dough a 1/4 turn - till a smooth elastic dough is achieved (approx 10min).
4. Grease the dough and place in a large greased mixing bowl. Cover. Takes approximately 60min for the dough to double in size.
5. Remove from bowl and give the dough a few quick kneads.
6. Cut into equal portions. Flatten the dough into a rectangle and spread grated cheese on the dough. Roll up like a swiss roll, tucking the ends under. Place on baking tray and cover, while working on the other dough portions. Once all the dough have been shaped, let the dough rest for 20min.
7. Brush dough with beaten egg. Bake in a preheated 160oC oven for 15min. Remove from oven and allow to cool on rack before slicing. Yummy Bread!
Original recipe - Happy Home Baker > Sweet Buns
13 March 2008
Hokkaido Milky Loaf - Success
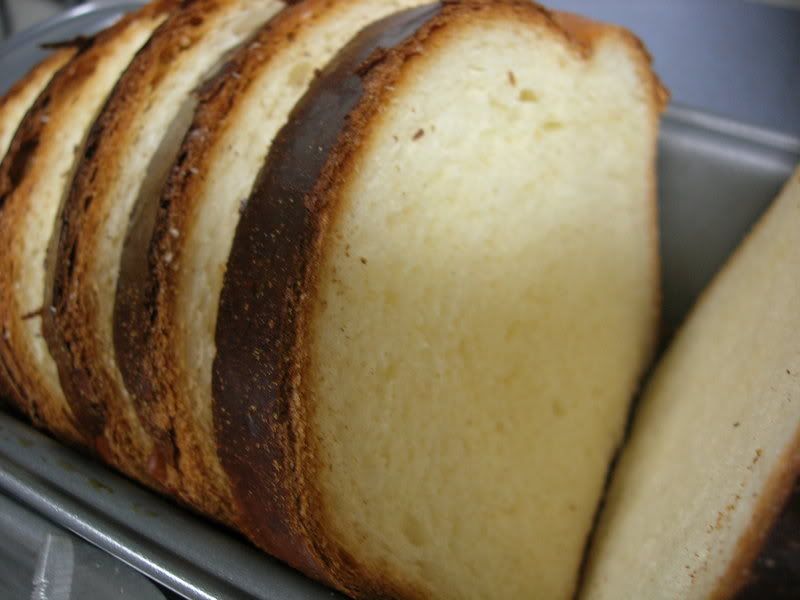
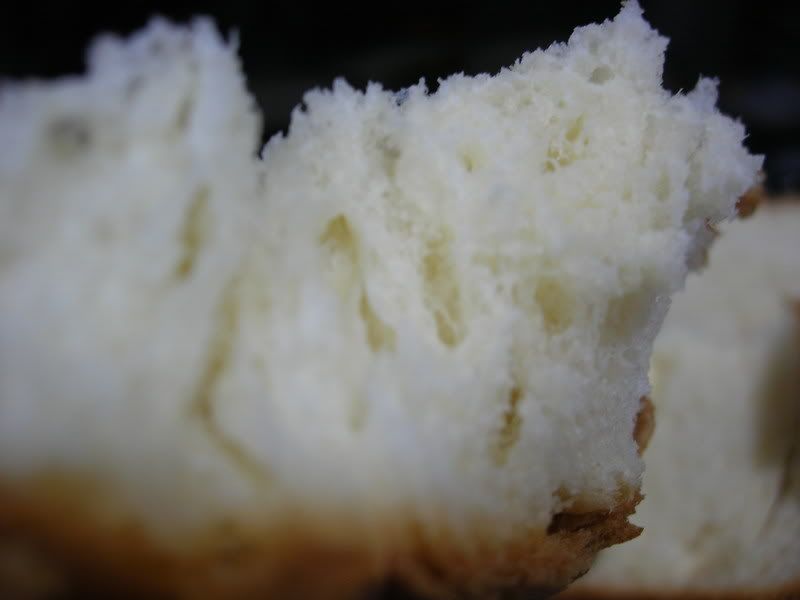
I did it! Sick, but still had some energy tonight. Maybe because I took a 2-hr nap this afternoon. I decided to try my hand on the Hokkaido Milky Loaf recipe again. This time, I decided to mix the dough on my work table. Prepared the dry ingredients and made a well in the centre. Then I attempted to pour the egg and milk and the liquids started to go everywhere and onto the floor. I "dumped" flour onto the liquids on the table and scraped it up, managed to salvage.
The ambient room temperature has been lower than usual for the past one week due to the prolonged wet weather, so I left the dough to proof for longer time, about 1.5hr. After the 1st proof, I gave the dough some quick kneads, flattened the dough into a rectangle and rolled the dough up like a swiss roll, tucking the ends under. 2nd proof was twice longer, abt 40min. Baked 40min in 170oC, turned my bread a little too brown on all sides. Hubby said that was because my oven's too small. Next time I should turn the temperature down to 160oC. Verdict: Soft, Fluffy and Yummy!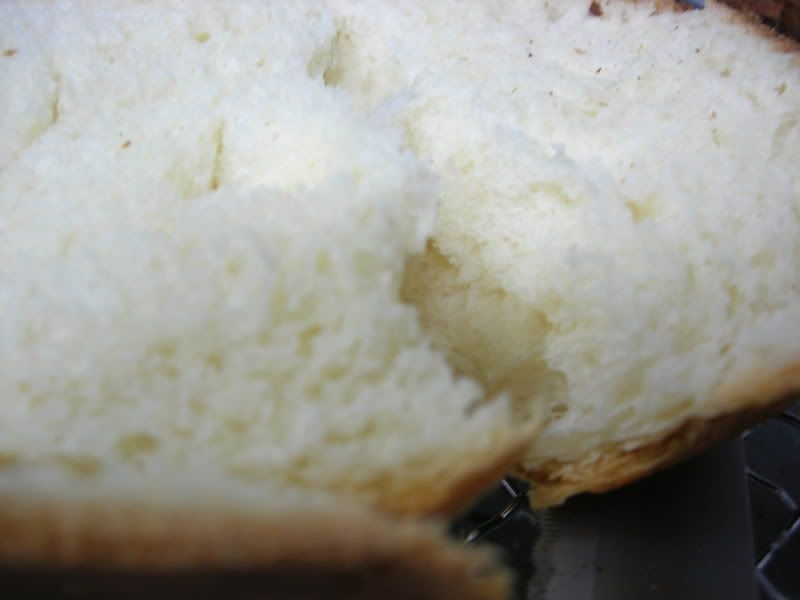
Hokkaido Milky Loaf
270g bread flour
30g cake flour
5g instant yeast
15g milk powder
40g sugar
5g salt
30ml beaten egg
120g fresh milk
80g whipping cream
1. Place all the dry ingredients on a clean smooth work table, be careful not to place the salt with the yeast. Mix well.
2. Create a well in the centre of the dry ingredients. Add the wet ingredients. Mix well to get a sticky dough.
3. Using a plastic scrapper, scrap the sticky dough together. Knead the dough - fold, press heals of palms into the dough, then give the dough a 1/4 turn - till a smooth elastic dough is achieved.
4. Grease the dough and place in a large greased mixing bowl. Cover. Takes approximately 60min for the dough to double in size.
5. Remove from bowl and give the dough a few quick kneads. Shape and place in a 4"x8" loaf pan. Rest for 20min.
6. Brush dough with beaten egg. Bake in a preheated 160oC oven for 30min. Remove from oven and allow to cool on rack before slicing. Yummy Bread!
Notes
** I think I over-kneaded on my 1st attempt on this recipe. This time I kept checking the dough, by stretching a small piece of dough. Took 10min to knead the dough.
** 1 egg is approximately 1/4 cup or 60ml.
** The bread is still a little yellowish. Perhaps the next time I should replace the 30ml beaten egg with 30ml milk.
Raisin Muffins
It's the 1 week March holidays. So unfortunately that both kids and I are sick, so is my mom who takes care of my kids. I took urgent leave today, so that I could rest and help my mom take care of them. Matthew has always helped his godmother (who's my younger sis) to make muffins and has been pestering me to do the same.
I didn't have my own trusty muffin recipe with me, I had to surf the net to come up with something. I did find something, but I kind of abandoned it while I was measuring the ingredients, because I was all mixed up. Furthermore, I wasn't on home ground, so I screwed up... BUT I used my baking instincts and managed to come up with something. Matthew helped to prepare the muffin cups, sift the flour and mix the batter. The result was fantastic! I quickly wrote down the modified recipe. It's definitely for keeps.
No photos, they were all gone before dinner time!
Matthew's Raisin Muffins - makes 9 std size
120g self raising flour
1/2 tsp baking powder
50g brown sugar
1 egg, beaten
60g olive oil
80g milk
1/2 cup raisins
1. Sift flour and baking powder in a large bowl. Add sugar to the flour and mix well.
2. Add egg, oil and milk into the large bowl. Stir till just combine. Add raisins and mix well.
3. Fill muffin cups 2/3 full and bake in pre-heated 170oC oven for 20min. Remove from oven and cool on rack.
Notes
** If using plain flour, add additional 1 tsp baking powder.
07 March 2008
Layered cakes
The ambient temperature at night for the past few days has been lower than usual, making it so comfortable to sleep. I have itching to bake again. It has been cold, so I had to shelf my plans to make bread. Today I baked sponge cake in a 8" square pan. I used the same basic recipe, but replaced milk with yogurt and added a tbsp orange juice because I ran out of vanilla essence!
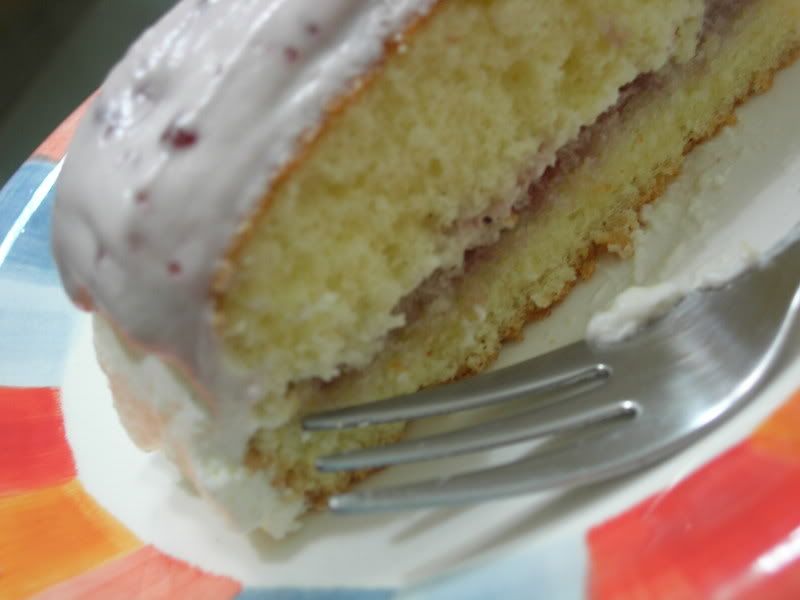
I cut the cake into half and layered the two halves differently. One half is a jam and cream sponge, completely frosted all round; the other has just a simple peach and cream sandwiched.
Hubby's comments: The peach is not very sweet, doesn't seem to go well with the cake sponge.. hmmm... The jam and cream sponge is YUMMY!
My comments: The perfect texture for a sponge cake.. I'm so proud of myself! But the sponge is just a little too sweet. I need to learn how to frost with the whipped cream. It's so damn difficult! In the end I just mix the cream with grape jelly jam and pour over the cake!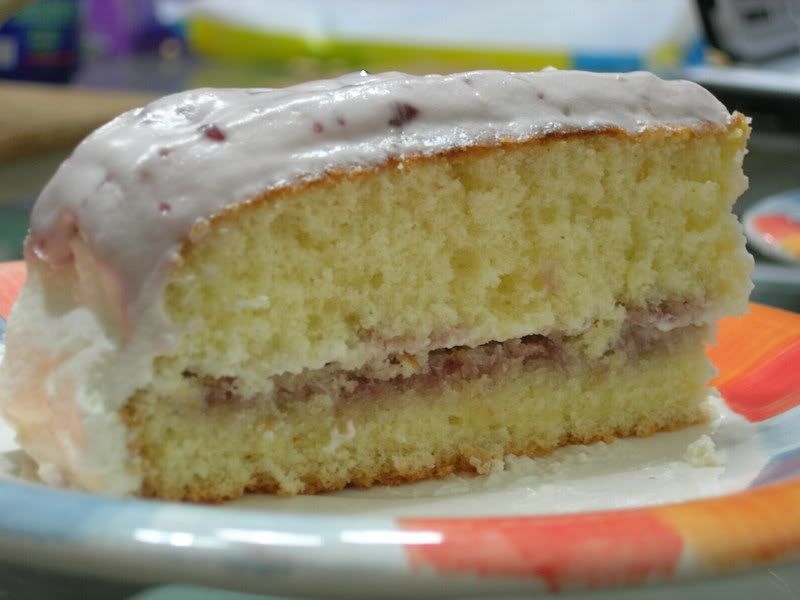
Jam and cream sponge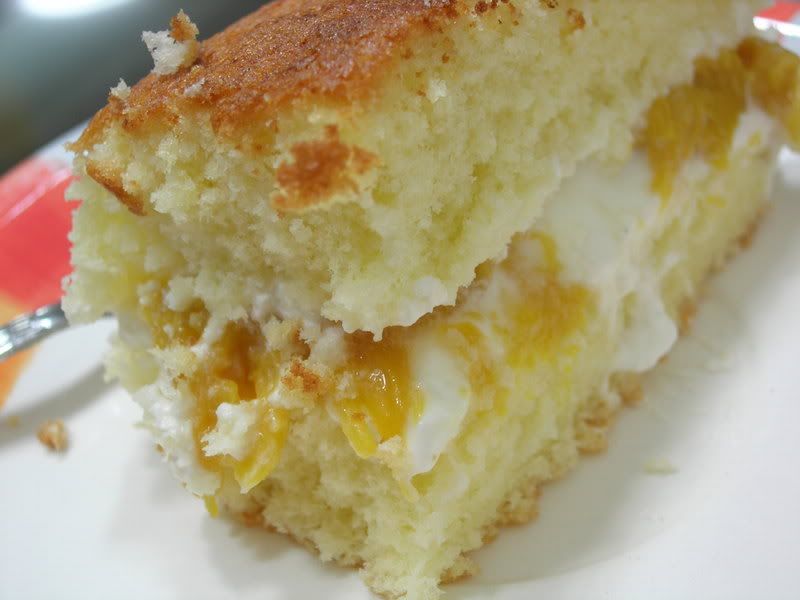
A simple peach and cream sponge
04 March 2008
Sponge Cups
Last night, I made Sponge Tarts. We were at Vivocity for lunch this afternoon and were having coffee at Toast Box when I saw those sponge cakes wrapped with paper. I was just wondering aloud to hubby whether I could bake something similar.
I made a batch just now and wow, I did it. 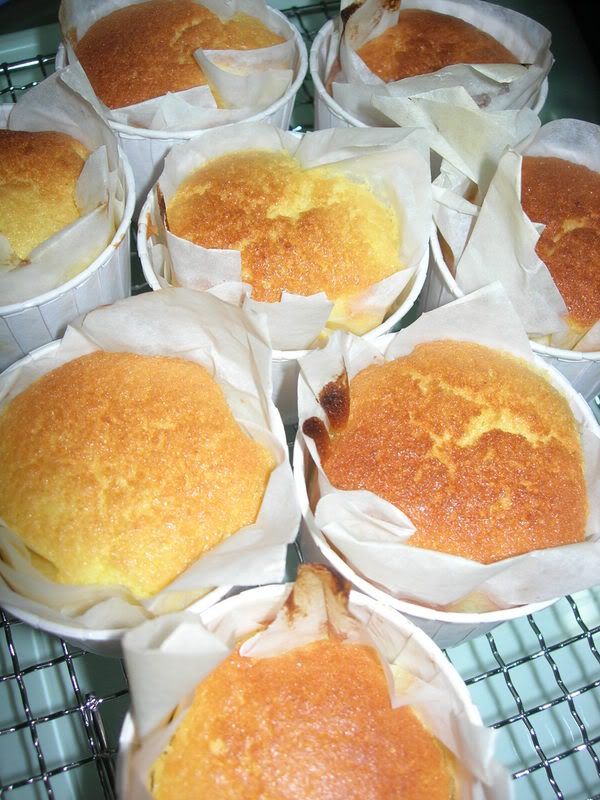
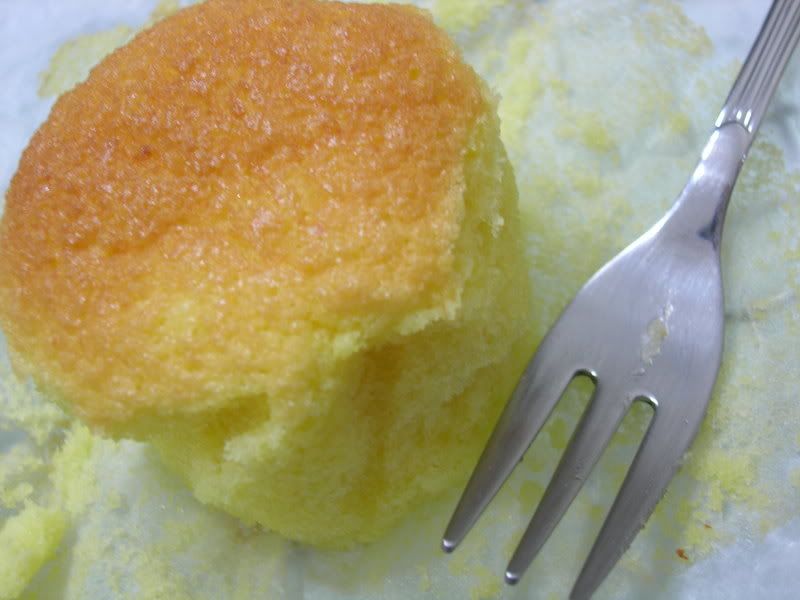
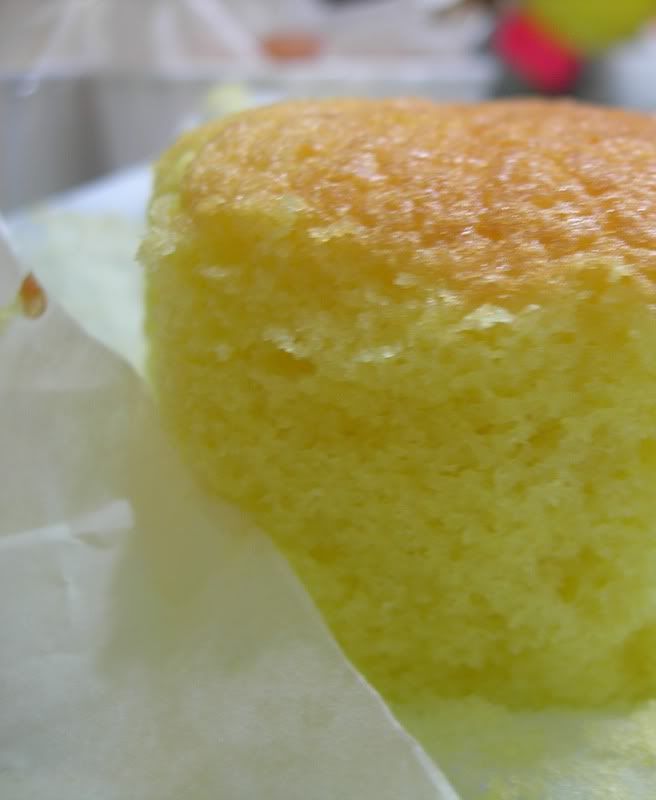
Sponge Cups - makes 10 muffin cups
4 eggs
90g caster sugar
100g cake flour
25g plain yogurt
90g butter, melted
1. Sift cake flour and set aside. Line muffin tins or paper cups with baking paper.
2. Whisk eggs and sugar at high speed till light and fluffy, ribbon state (approx 5min). Reduce to low speed and continue to whisk at low speed for 1-2min.
3. Gently fold in cake flour in batches.
4. Fold in yogurt, followed by melted butter.
5. Spoon into cups and bake in preheated 160oC oven for 20min.
6. Cool completely on rack, before storing.
Notes
** changes to original recipe: omit sponge gel/stabiliser and replace milk with yogurt
** variation: add some raisins.
Original recipe > Baking Mum: Sponge Cake
03 March 2008
Sponge tarts
I don't know why I bought those aluminium foil cups that are meant for tarts. They were sitting there, an eyesore. I came across this Spongecake recipe and thought I should just bake a very small batch to get rid of the foil cups. I shall call them sponge tarts.
** no photos, because I'm lazy to compose the picture.. hahahaah **
Sponge Tarts - makes 8
2 eggs
50g caster sugar
50g cake flour
1/2 tsp vanilla essence
12.5g milk
45g melted butter
1. Sift cake flour and set aside. Grease foil cups.
2. Whisk eggs, sugar and vanilla essence together at high speed till light and fluffy, ribbon state (about 3min). Continue to whisk for 1min at low speed to stabilise the batter.
3. Gently fold in flour into batter.
4. Add milk into the batter by the side. Blend well. Similarly, add melted butter.
5. Pour batter into cups. Bake in preheated 150oC oven for 20min, till a cake tester inserted in the centre comes out clean.
6. Allow to cool on rack before storing.
Notes
** Too sweet, can reduce the sugar content.
** Reduce or omit milk. Batter too runny.
Taste notes
** The sponge tarts remained soft when we took it for breakfast. I have slightly overbeaten the eggs again, but this time, the effect was great. It tasted like the baked brown 鸡蛋糕 my mom used to buy from the market. Yummy! All gone! I couldn't resist! Looks like I got to bake more tonight, if I have the energy!
02 March 2008
Hokkaido Milky Loaf
I made bread last night. From scratch, it took me 30 min to knead a proper bread dough, stretching it to a thin film without tearing it. Even before I placed in the mixing bowl, grease and cover it to proof, it was getting bigger by the second. 60min, I poked my finger into the expanded dough and the hole stayed there and the dough was not deflated. Took it out, gave it a few quick kneads, shaped it and let it to rest in the loaf pan for 20min. Forgot to brush with water. The pan was placed too high, I had to cover it with aluminium foil. After 30min, it was done! We took it out and hubby couldn't wait to try. Cut a small slice and spread some butter on it. Yummy! The crust was crisp and the interior was soft but a little too dense. We finished the whole loaf today.
Actually I'm not quite pleased with my bread. It doesn't have the same kind of texture as what Happy Home Baker has photographed in her food blog. I realised why - I "accidentally added" too much flour, by dusting too much flour on my working table while kneading. after note: I also suspect that I overkneaded?.. never mind, will do a better job next time. 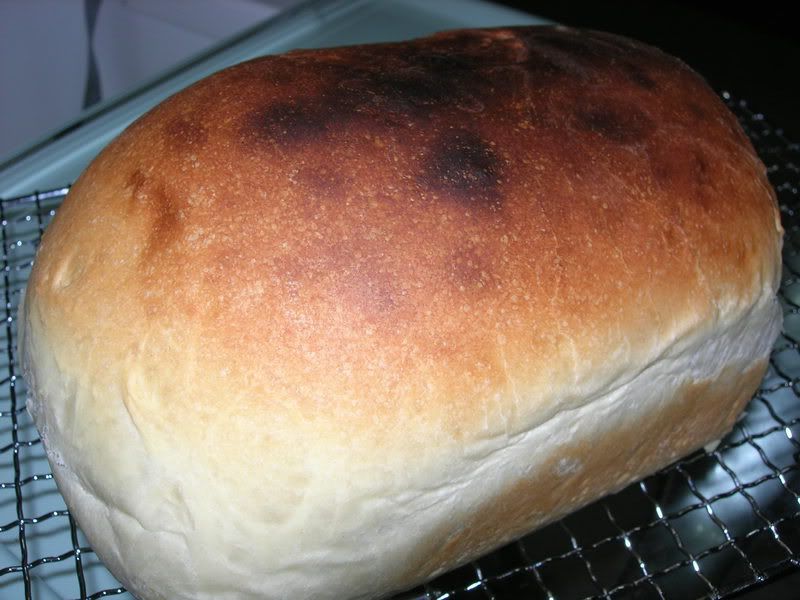
original recipe > Angie's Recipes: Hokkaido Milky Loaf
My inspiration - Happy Home Baker > Hokkaido Milky Loaf