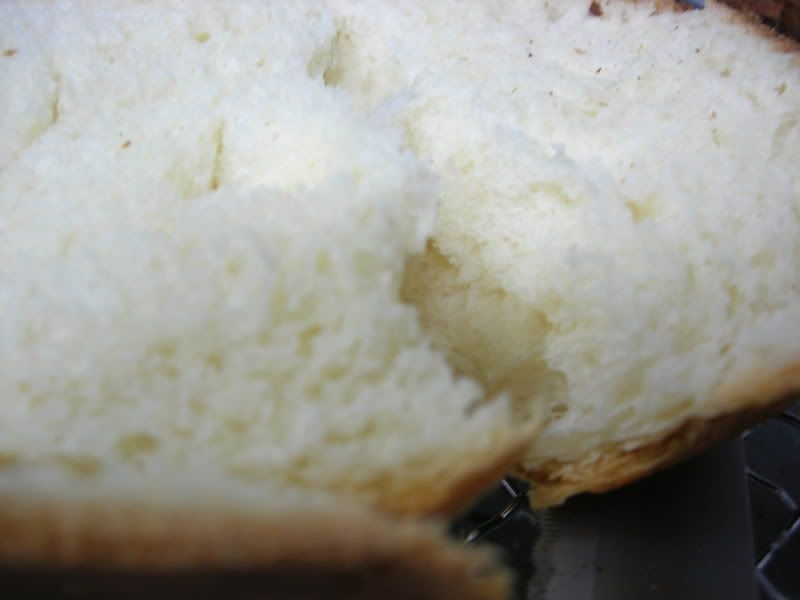
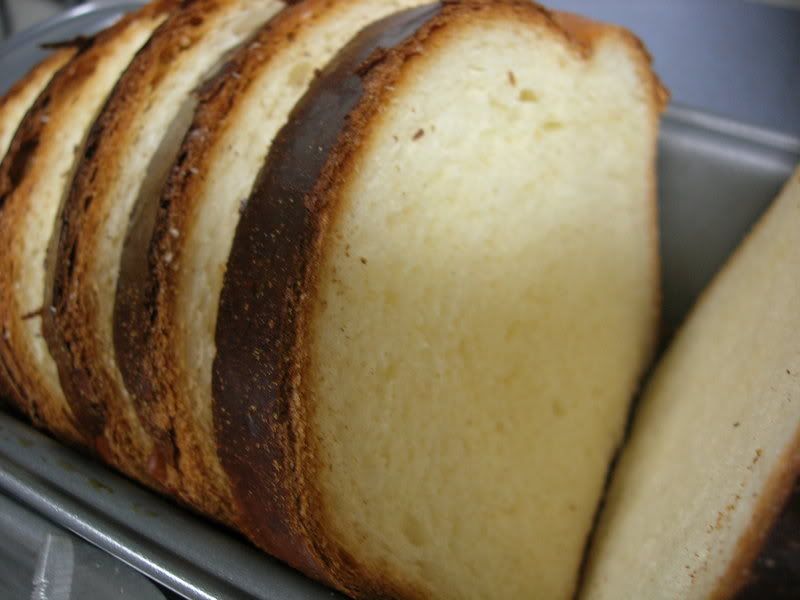
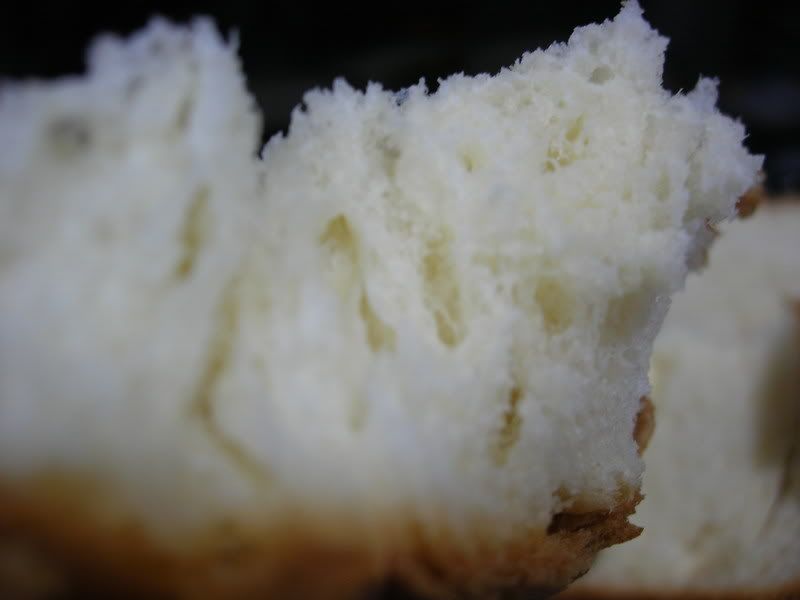
I did it! Sick, but still had some energy tonight. Maybe because I took a 2-hr nap this afternoon. I decided to try my hand on the Hokkaido Milky Loaf recipe again. This time, I decided to mix the dough on my work table. Prepared the dry ingredients and made a well in the centre. Then I attempted to pour the egg and milk and the liquids started to go everywhere and onto the floor. I "dumped" flour onto the liquids on the table and scraped it up, managed to salvage.
The ambient room temperature has been lower than usual for the past one week due to the prolonged wet weather, so I left the dough to proof for longer time, about 1.5hr. After the 1st proof, I gave the dough some quick kneads, flattened the dough into a rectangle and rolled the dough up like a swiss roll, tucking the ends under. 2nd proof was twice longer, abt 40min. Baked 40min in 170oC, turned my bread a little too brown on all sides. Hubby said that was because my oven's too small. Next time I should turn the temperature down to 160oC. Verdict: Soft, Fluffy and Yummy!


Hokkaido Milky Loaf
270g bread flour
30g cake flour
5g instant yeast
15g milk powder
40g sugar
5g salt
30ml beaten egg
120g fresh milk
80g whipping cream
1. Place all the dry ingredients on a clean smooth work table, be careful not to place the salt with the yeast. Mix well.
2. Create a well in the centre of the dry ingredients. Add the wet ingredients. Mix well to get a sticky dough.
3. Using a plastic scrapper, scrap the sticky dough together. Knead the dough - fold, press heals of palms into the dough, then give the dough a 1/4 turn - till a smooth elastic dough is achieved.
4. Grease the dough and place in a large greased mixing bowl. Cover. Takes approximately 60min for the dough to double in size.
5. Remove from bowl and give the dough a few quick kneads. Shape and place in a 4"x8" loaf pan. Rest for 20min.
6. Brush dough with beaten egg. Bake in a preheated 160oC oven for 30min. Remove from oven and allow to cool on rack before slicing. Yummy Bread!
Notes
** I think I over-kneaded on my 1st attempt on this recipe. This time I kept checking the dough, by stretching a small piece of dough. Took 10min to knead the dough.
** 1 egg is approximately 1/4 cup or 60ml.
** The bread is still a little yellowish. Perhaps the next time I should replace the 30ml beaten egg with 30ml milk.
13 March 2008
Hokkaido Milky Loaf - Success
Subscribe to:
Post Comments (Atom)
2 comments:
Hi Sandy, congrats on your successful attempt :)
You bread is a little yellow coz of the dairy whipping cream. You may also bake your loaf at the lowest possible rack position of your oven to prevent the top from overly browned. You may also like to try the other "Milk Loaf" recipe that's posted in my blog. I actually prefer this milk loaf recipe as it doesnt call for whipping cream...something which I always have problem trying to use up before the expiry date!.
hi hi
jus realised i haven't replied to ur comment. :p
actually i haven't been trying to use up my whipping cream, so for all the sweet buns which i have baked so far, i have subst a portion of milk with whipping cream.. hahaha..
Post a Comment