Twice, the Happy Home Baker left comments on my blog, urging me to try the milk loaf recipe. I finally did. 2 nights ago. I took note of HHB's comments that her dough took 2 hours to rise during the 2nd proofing. As I usually make bread at night, I found a good way to proof my dough. I placed the dough into a stainless steel mixing bowl, greased and covered with cling wrap. I would then place a cup of boiling water into the microwave oven, together with the dough in the bowl. It cut the proofing time. For the 2nd proofing, I did the same and the dough almost touched the cover of the pullman tin after 40min.
For milk, I hardly have fresh milk at home these days. For my breads so far, I've used a mixture of UHT milk and whipping cream. The whipping cream was balance from decorating Jo's birthday cake. I finally finished using the whipping cream in this bread.
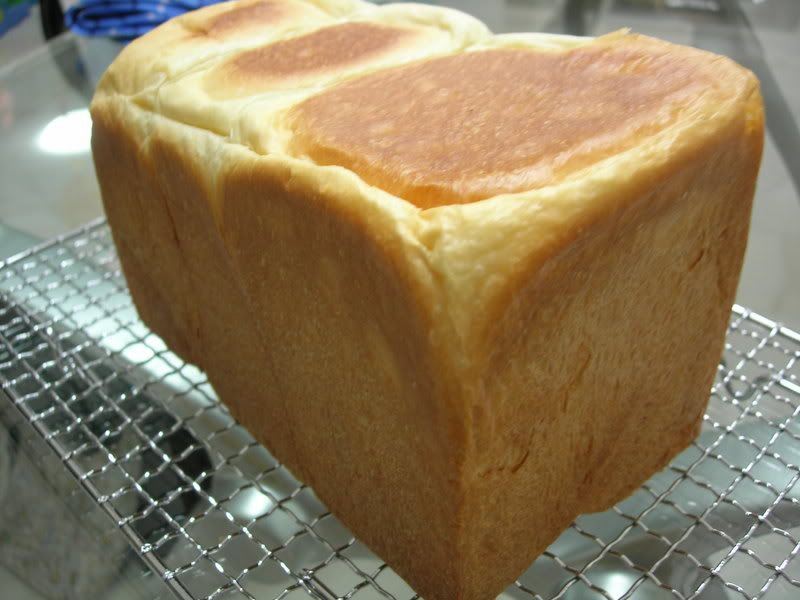
> The best looking corner
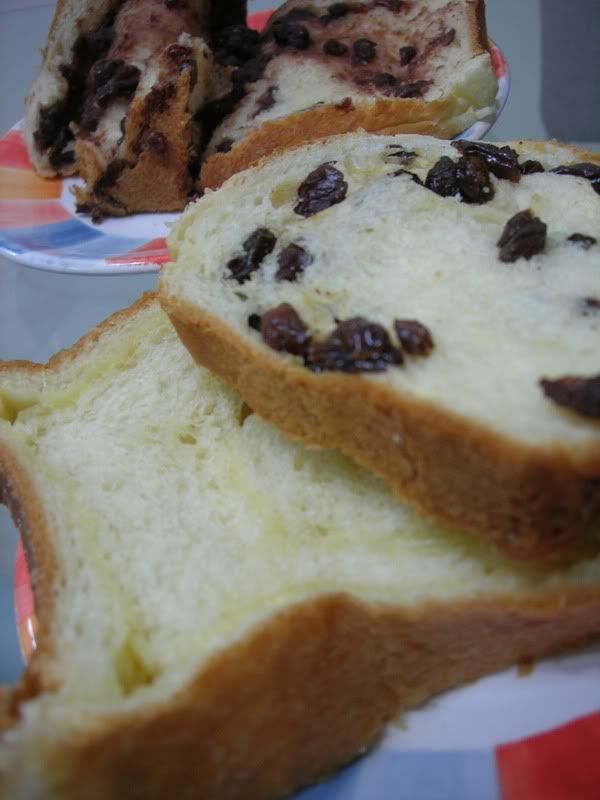
> L- Cheese slice, R- Raisin slice
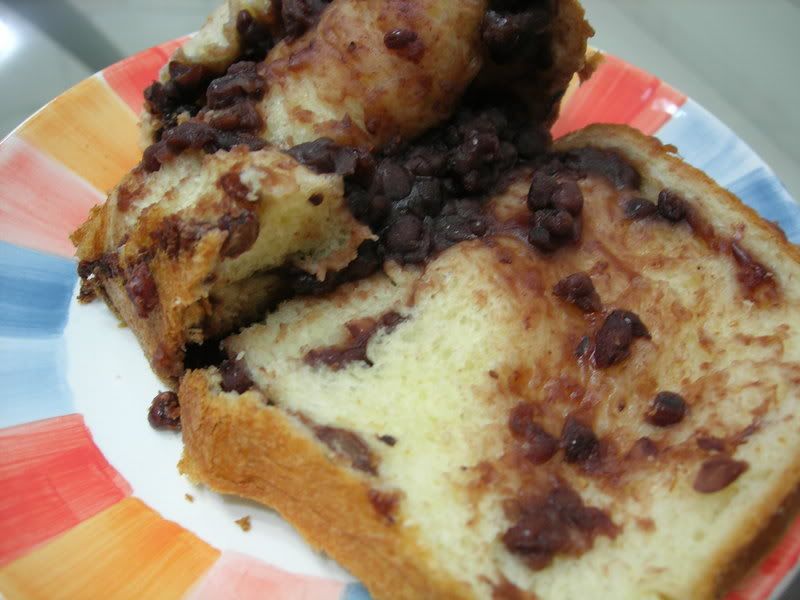
> Tau sar slice
Milk Loaf
130g milk (I used a mixture of whipping cream and UHT)
50g egg
25g caster sugar
5g salt
250g bread flour
4g instant yeast
38g butter (unsalted, cubed)
Assorted fillings - red bean paste, grated cheddar cheese, raisins (soaked in hot water and drained)
1. Place all the dry ingredients in a bowl (be careful not to put yeast with salt). Mix well. Add all the wet ingredients and make a dough.
2. Turn the dough out on a clean smooth work-table. Add the butter and knead the butter into the dough. The dough would be sticky at first, but don't worry, continue kneading till you get a smooth elastic dough.
3. Place the dough in a greased mixing bowl. Cover the dough with cling wrap and allow the dough to rise (approximately 1 hour).
4. The dough should rise 2x the original size. Give the dough a light punch to deflate. Turn the dough out onto the table and lightly knead the dough. Divide the dough into 3 portions and allow the dough to rest 10minutes.
5. Flatten 1 potion and spread filling on the flattened dough. Roll up the dough with the filling like a swiss roll, making as many rounds as possible. Tuck the ends under and place in the pullman tin. Do the same for the other 2 portions.
6. Allow the dough in the pullman tin to rise till almost 2x its original size.
7. Bake in a preheated 160oC oven for 30min. De-mould immediately and allow to cool before slicing.
YUMMY! The bread was so soft that I had problems slicing. We loved the texture. The kids simply loved the cheese slices.
Original recipe - Happy Home Baker > Almost a Square
28 March 2008
Milk Loaf with Fillings
Subscribe to:
Post Comments (Atom)
2 comments:
Hi Sandy, glad to hear that you like this recipe :)
I am not sure whether this is true, but I read from cookbooks that the best way is to allow the dough to have enough time to proof on its own (both the 1st & 2nd proof).
Try not to rush the process...as you may end up with a 'tight and cramped' bread...and also, you may find the bread comes with a strong yeast smell. So far I always let the dough to rise on it's own (I have the luxury of time!!), so I can't really verify whether by speeding up the process it would really affect the result?
hi hi
i usually bake at night when both my kids are asleep, so in a way, i don't have the luxury of time. so far, my bread have the soft and light texture. as for strong yeast smell, hmmm, i didn't notice. i shall take note. thanks!
Post a Comment